How to Draw Anime Faces: A Step-by-Step Guide by Japanese Pro Artists
Every image on this page is taken from a real Anime Art Academy lesson. These are the same construction checks our instructors draw in red on students' work.
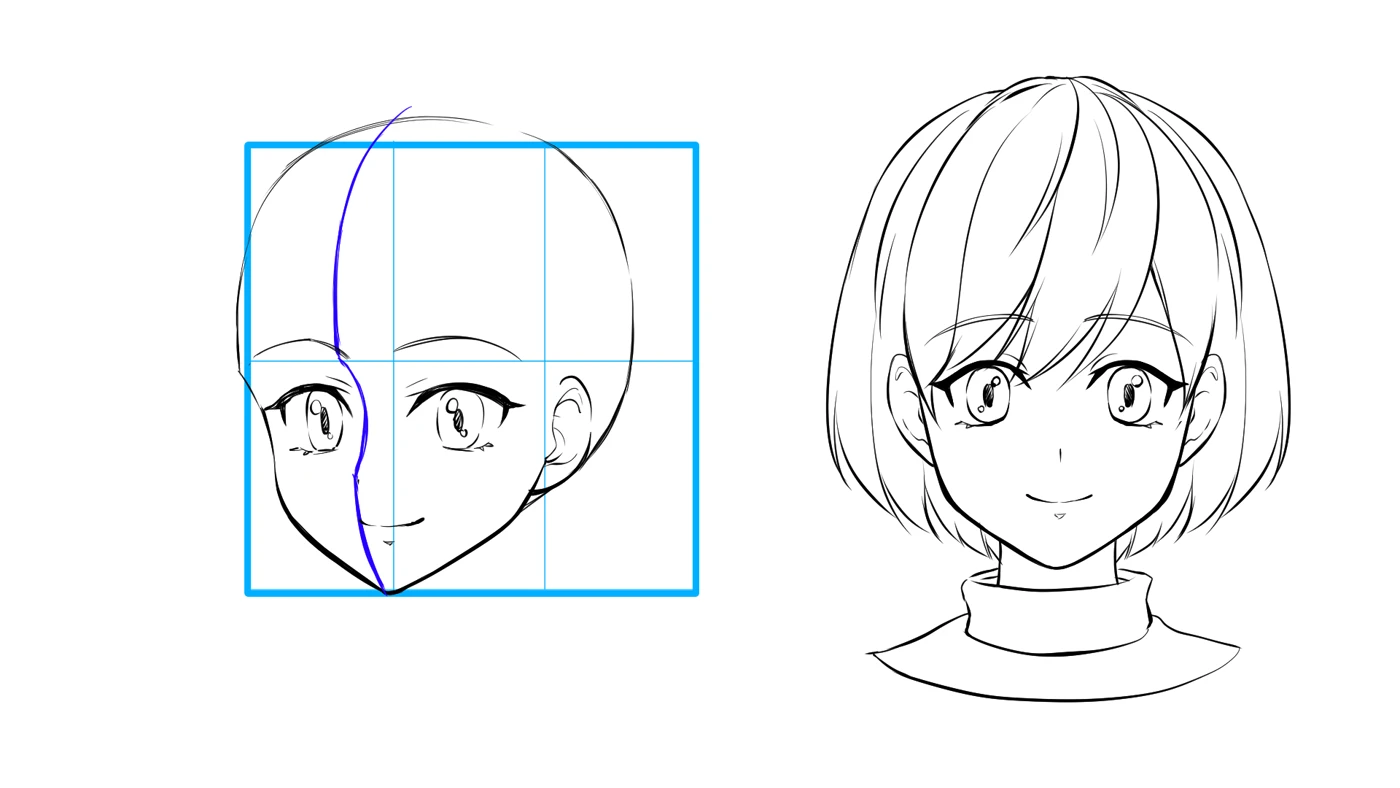 Real lesson material
The five-step order
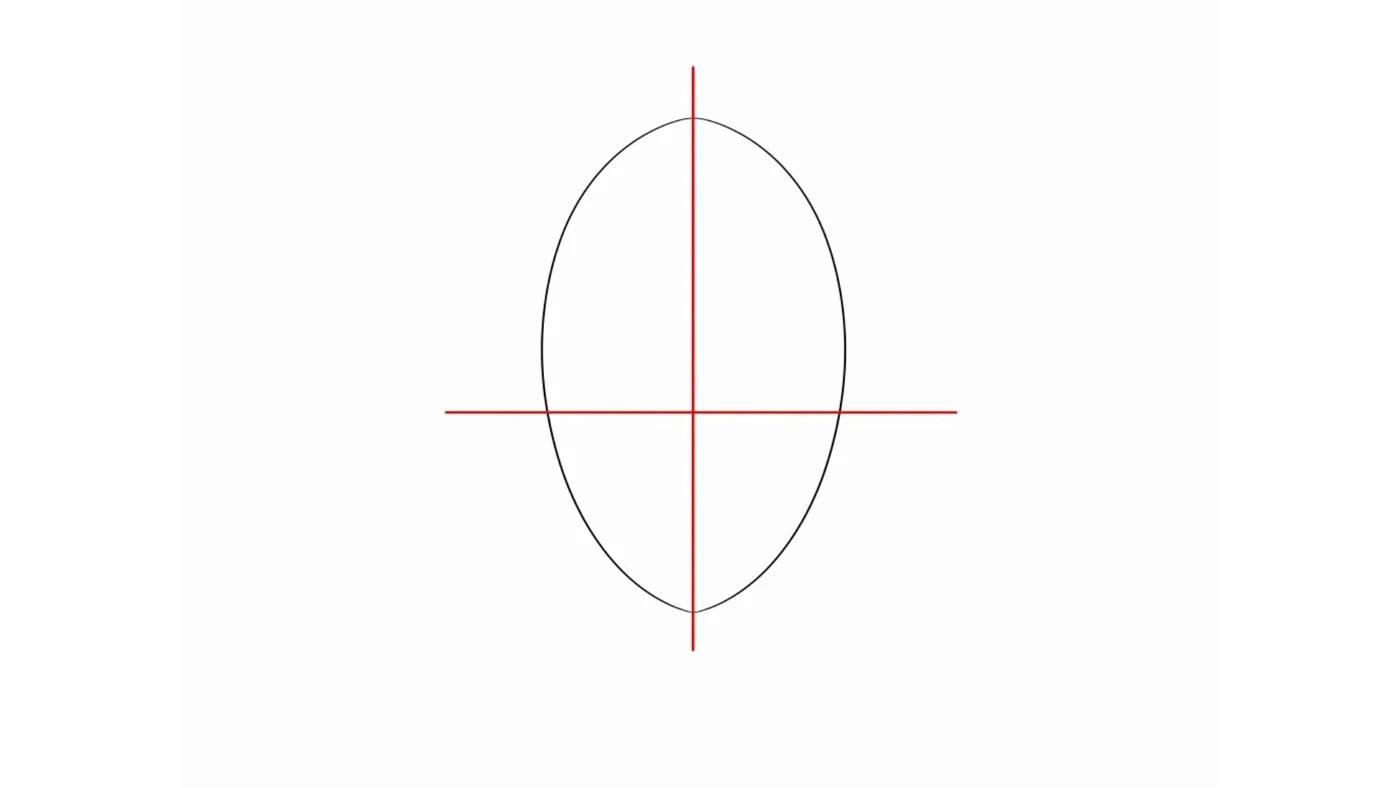 01
01
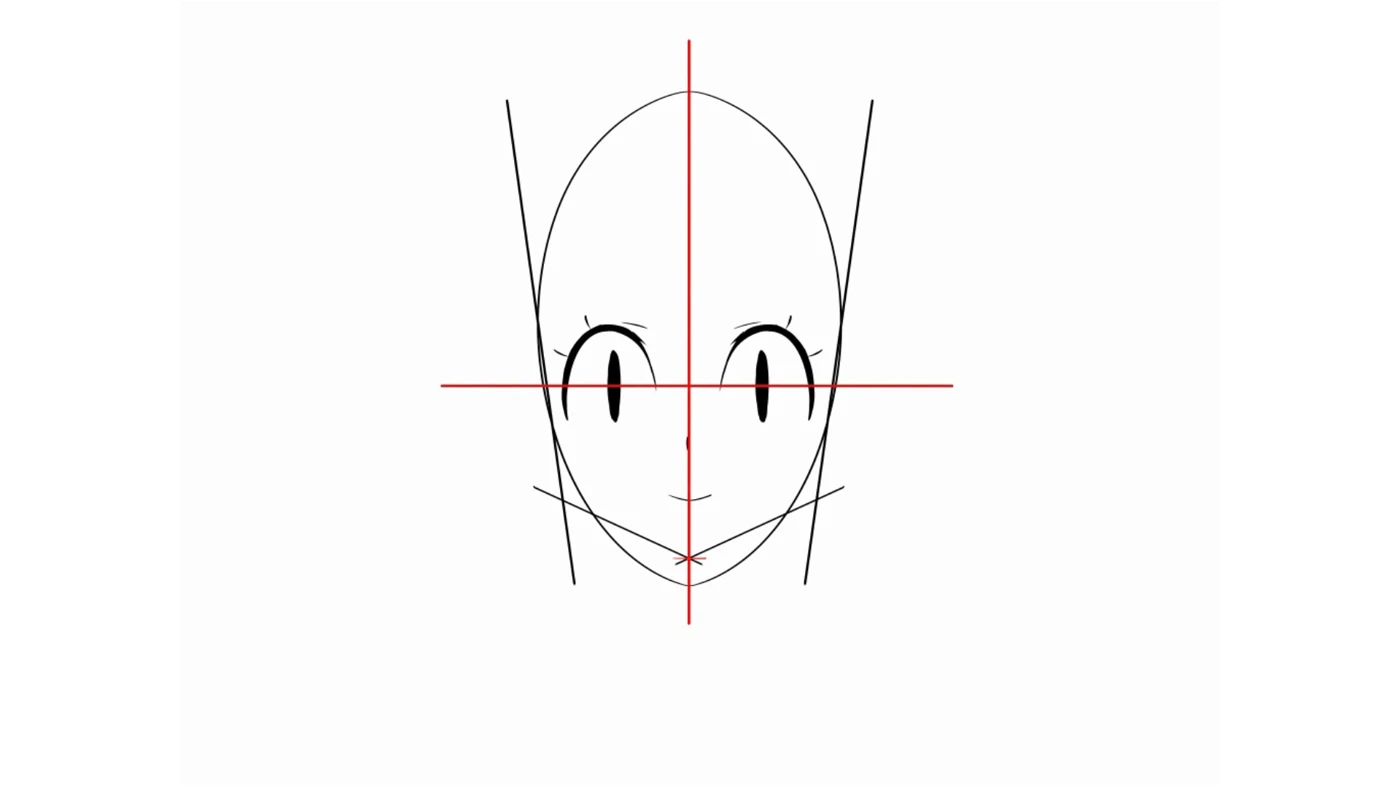 02
02
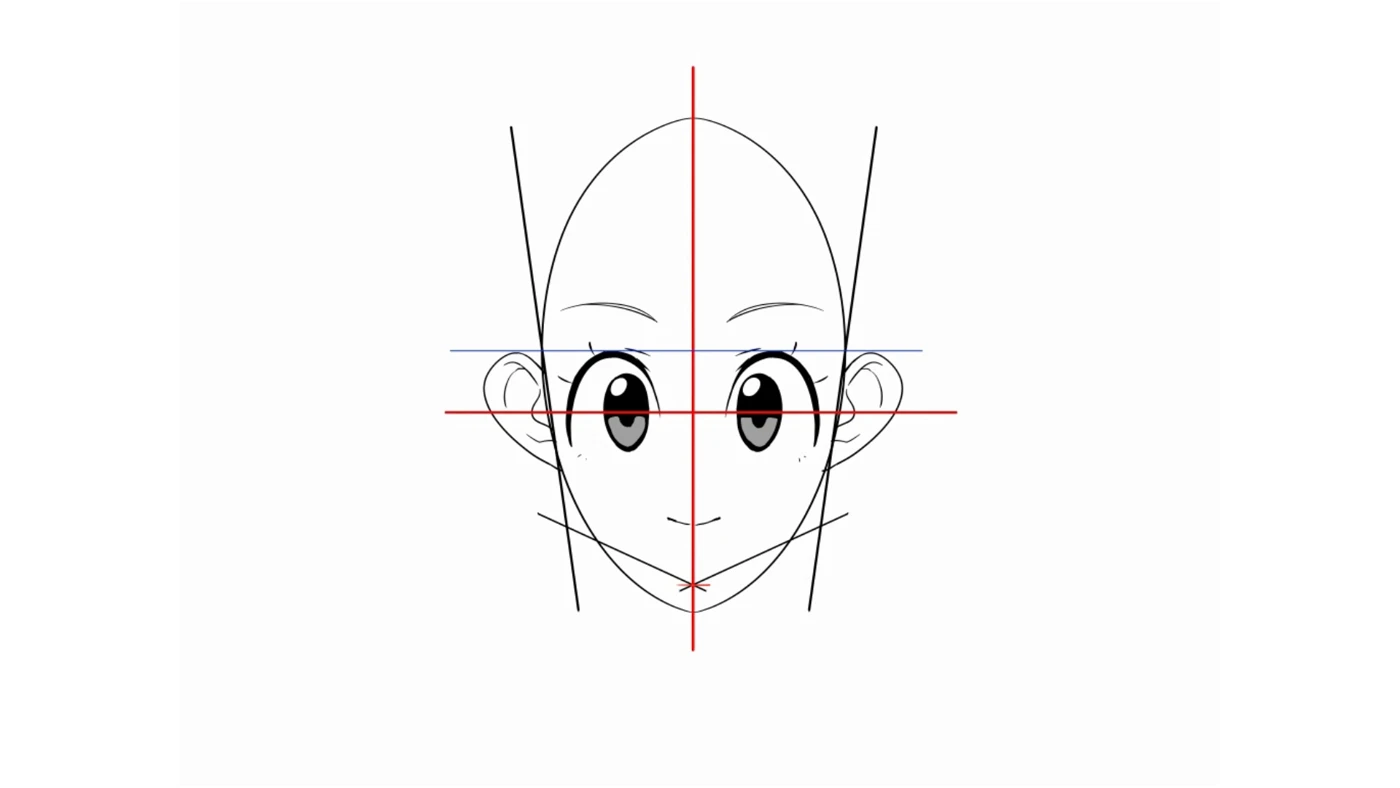 03
03
 04
04
 05
05
Step 01 · Proportions
How do you get the head shape right?
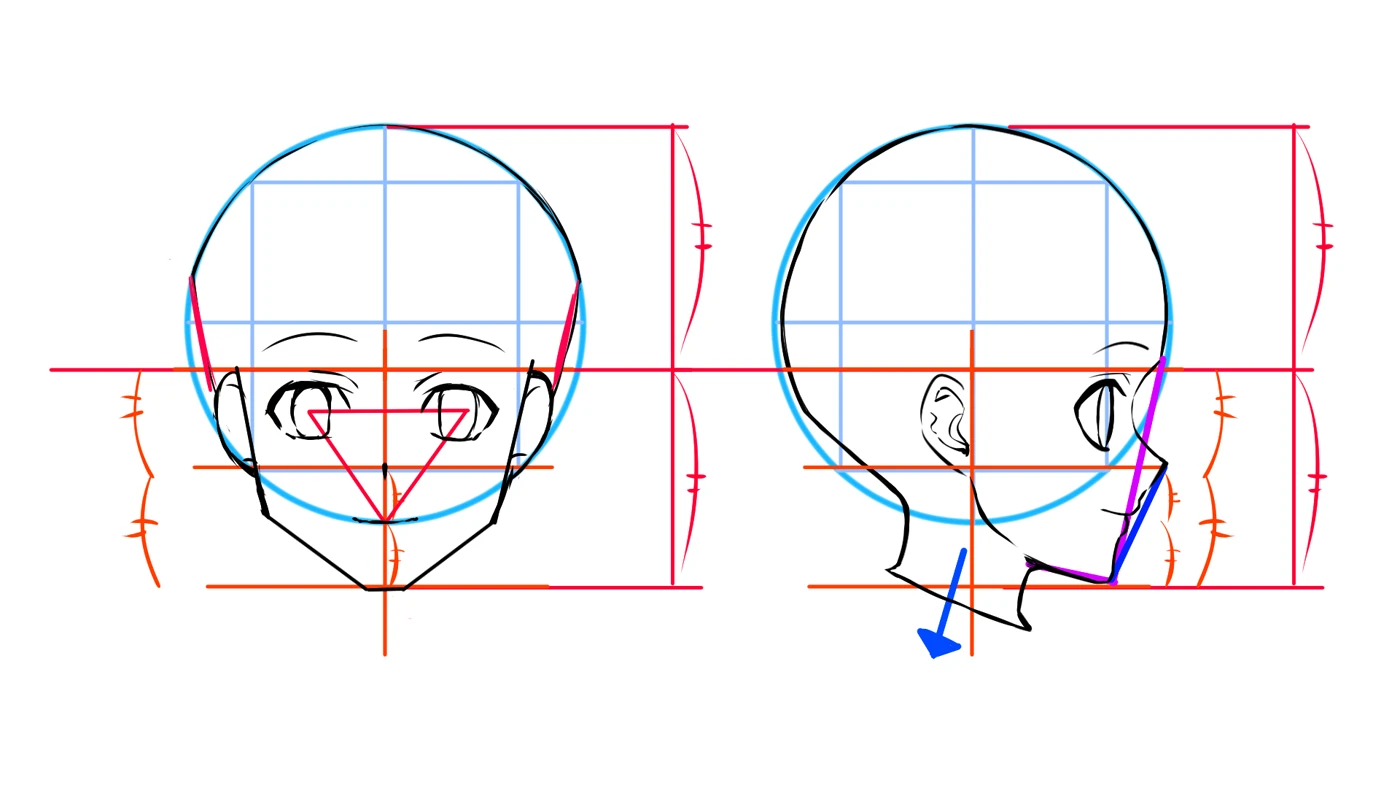
Start with an oval and a center cross: four light marks decide the whole face.Draw an oval, then a vertical center line and a horizontal eye line. Add the jaw under the oval. That's the entire skeleton of an anime face, and it takes about ten seconds.
Here's the part most self-taught artists skip: when a face looks "off," the problem is almost never the eyes you spent an hour on. It's this cross, drawn carelessly in the first ten seconds. The center line tells you where the face is pointing; the eye line keeps the features level. Fix the cross and half of your "wonky anatomy" problems disappear with it.
Real lesson material
Step 02 · Eyes
Where do anime eyes actually sit?
Both eyes sit on the eye line, roughly one eye-width apart. Place both before finishing either.Treat the eyes as a pair on one curved guide, not two separate stickers. Mark both positions as simple shapes on the eye line, check the gap between them (about one eye-width), and only then start on lids, lashes and highlights.
Uneven eyes, the classic frustration, almost always come from finishing one eye completely and then trying to copy it freehand. The lesson version places two rough shapes first, compares them, and commits to detail only when the pair reads as level.
Real lesson material
Step 03 · Nose & mouth
Where should the nose and mouth go?
Small marks on the center line: they support the eyes, they don't compete with them.Anime noses are hints: a short line or a small shadow on the center line, about halfway between the eye line and the chin. The mouth sits in the space that's left, and shifting it even a millimeter changes the character's age and mood before you've drawn a single expression.
The temptation is to render the nose because you can. Resist it. In this style, a quiet nose is what lets the eyes carry the face.
Real lesson material
Step 04 · Angles
How do you draw the same face from another angle?
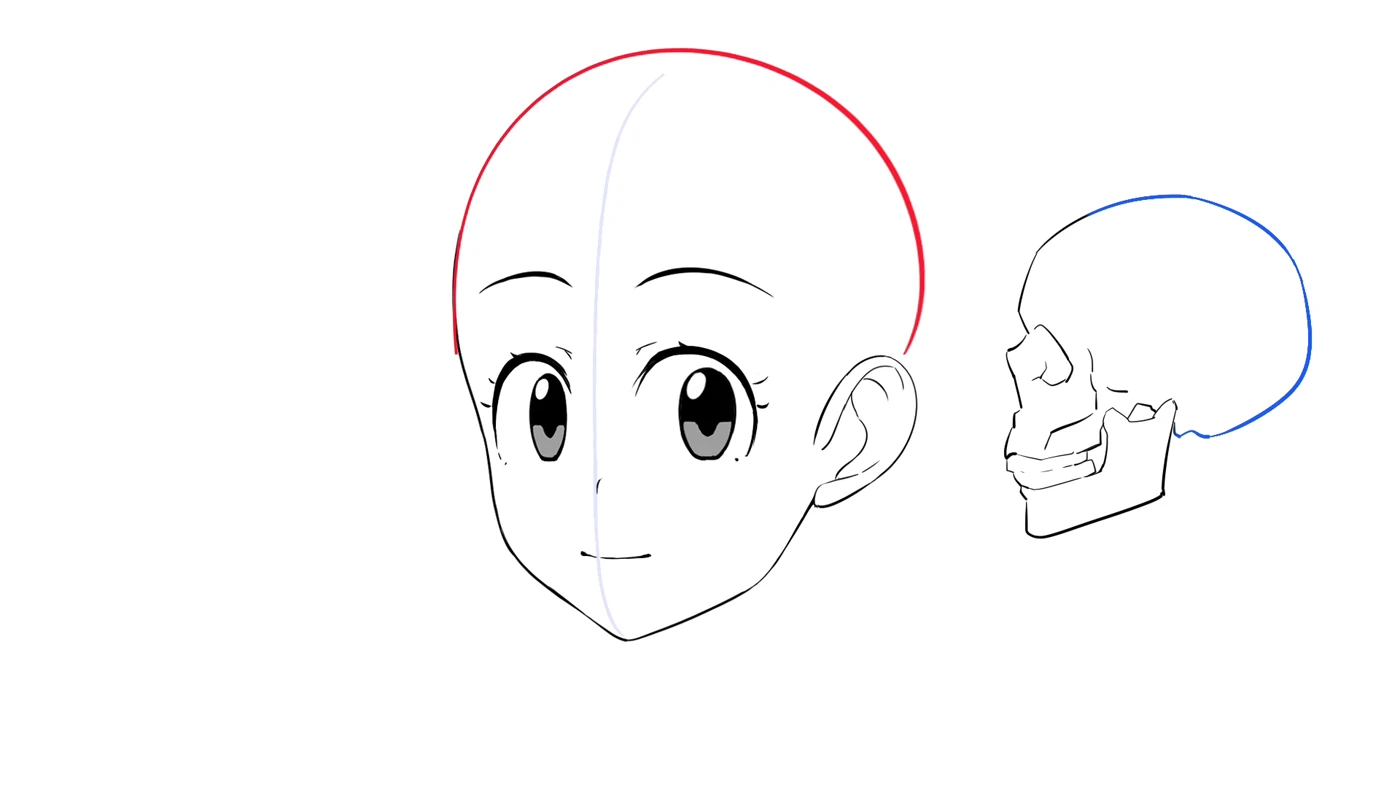
Turn the construction in 3D. Never slide the features sideways across a flat face.This is where faces that looked fine from the front fall apart. The fix is to stop thinking of the center line as a line and start thinking of it as a band wrapped around a head. When the head turns, the band turns: the far eye narrows, the far half of the face compresses, and the nose steps off the silhouette.
Our intermediate lessons draw the skull next to the anime head for exactly this reason. Not because you need medical anatomy, but because feeling the solid form underneath is what keeps a three-quarter face from going flat.
Real lesson material
 Real lesson material
Step 05 · Finishing
How do you finish the face — hair and expression?
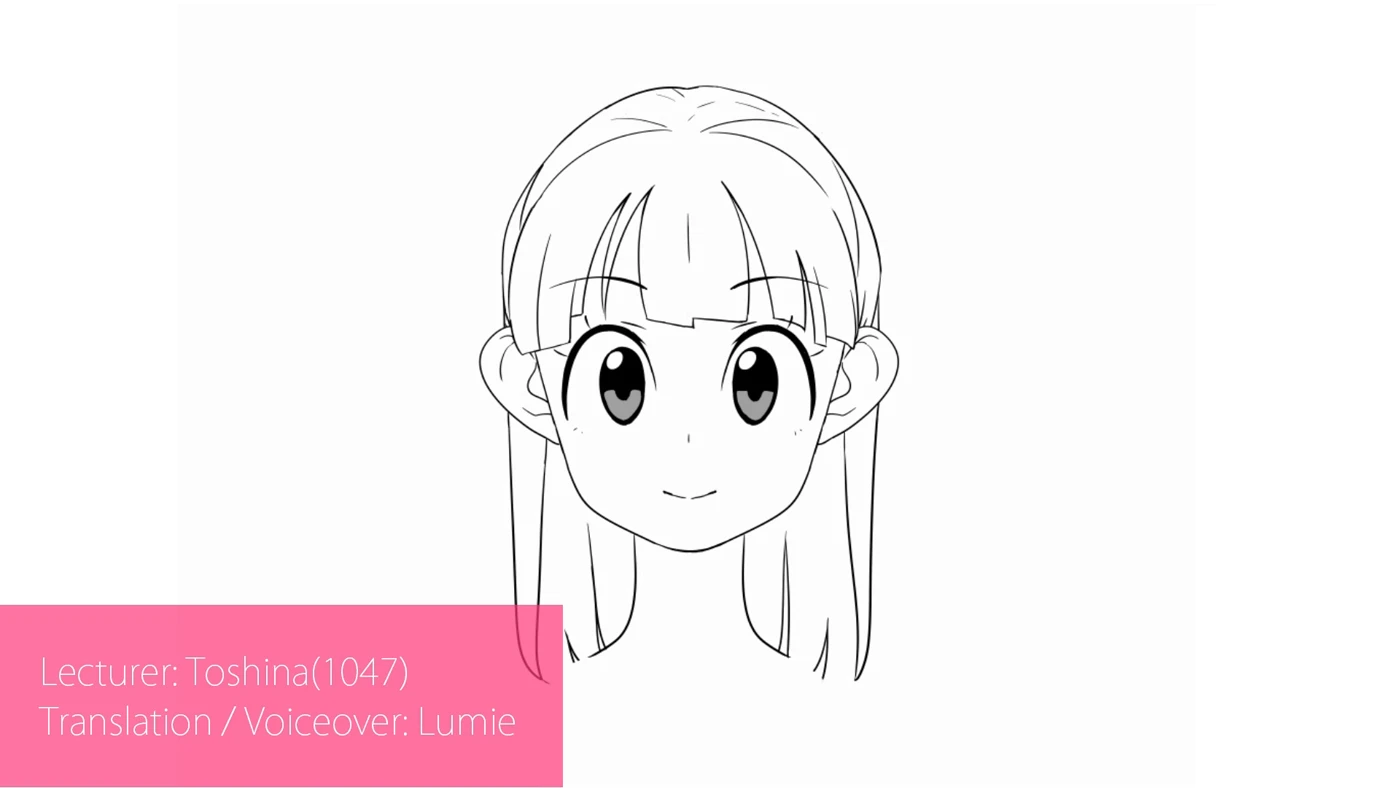
Hair grows from the skull you built; expression moves brows, lids and mouth as one set.Hair is drawn over the head shape, not instead of it: volume sits above the scalp line, and strands flow from the crown and the parting. If the construction underneath is solid, even simple hair looks like it belongs to the character.
Expression works in groups. Raised brows pull the upper lids with them; a tense jaw changes the mouth corners; a smile pushes the cheeks into the lower lids. Change one feature alone and the face looks like a mask; change the group and it looks alive.
Real lesson material
From one oval to a finished face
These two frames are from the same lesson, minutes apart. What looks like talent is a sequence — and sequences can be learned.
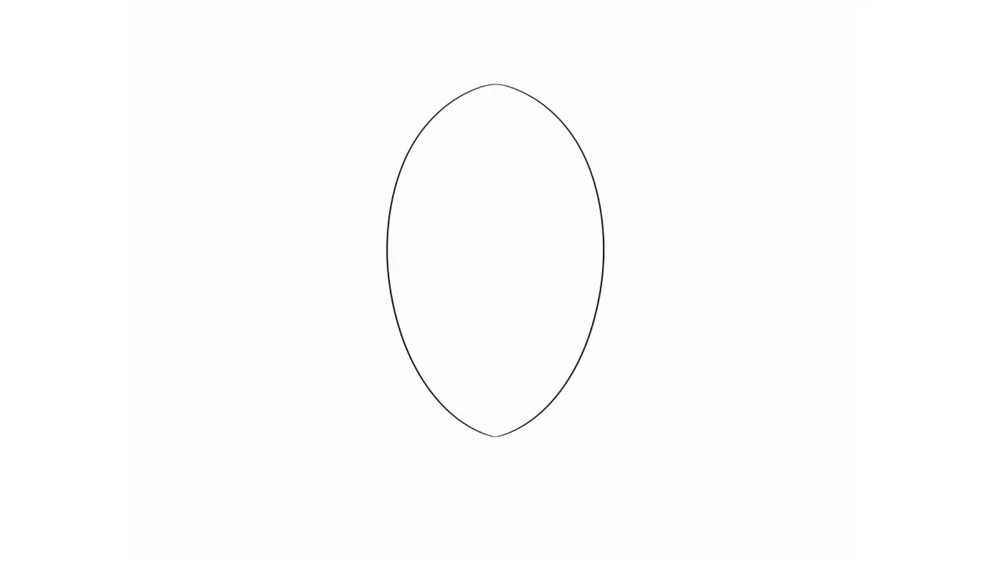
Where the lesson starts: one oval, one guide line.
Where it ends: the finished character, from the same lesson.
Where people usually get stuck
Why does my face look flat?
The features were placed on a flat circle instead of a form. Curve your guide lines around the head — especially the eye line — and the same features suddenly sit on a skull instead of floating in front of one.
Why do my eyes keep coming out uneven?
Because one eye was finished before the other was placed. Rough in both shapes on the eye line, compare, adjust, and only then render. Symmetry is a placement habit, not a steadiness talent.
How much detail does an anime face need?
Less than you think. A face with clean big shapes and almost no rendering reads as confident; a face with shaky construction and heavy detail reads as overworked. Detail is seasoning, not structure.
Anime face drawing FAQ
Can I learn to draw anime faces with just pencil and paper?
Yes. Every step on this page (proportions, eye placement, angles) is about where lines go, not what tool draws them. Plenty of our students do the construction work on paper and move to a tablet later, or never.
How long does it take to learn to draw anime faces?
With regular practice and construction-first habits, front-view faces usually become easier before angled faces do. Angled faces take longer. That's normal, and it's why our curriculum treats them as their own stage rather than a footnote.
Do I need to study realistic anatomy first?
No — you can start with anime construction directly. But a light sense of the skull underneath helps enormously at angles, which is why our intermediate lessons draw the skull next to the anime head instead of pretending it isn't there.
How do I get feedback on my face drawings?
When you join an Anime Art Academy course, a professional Japanese artist gives you personal advice and draws red-line corrections directly on your drawing. There is no limit on how many times you can submit. The only rule: post one drawing at a time, and wait for your teacher's reply before posting the next.